Kings Norton Golf Club![]()
Wythall Course - Hole 1
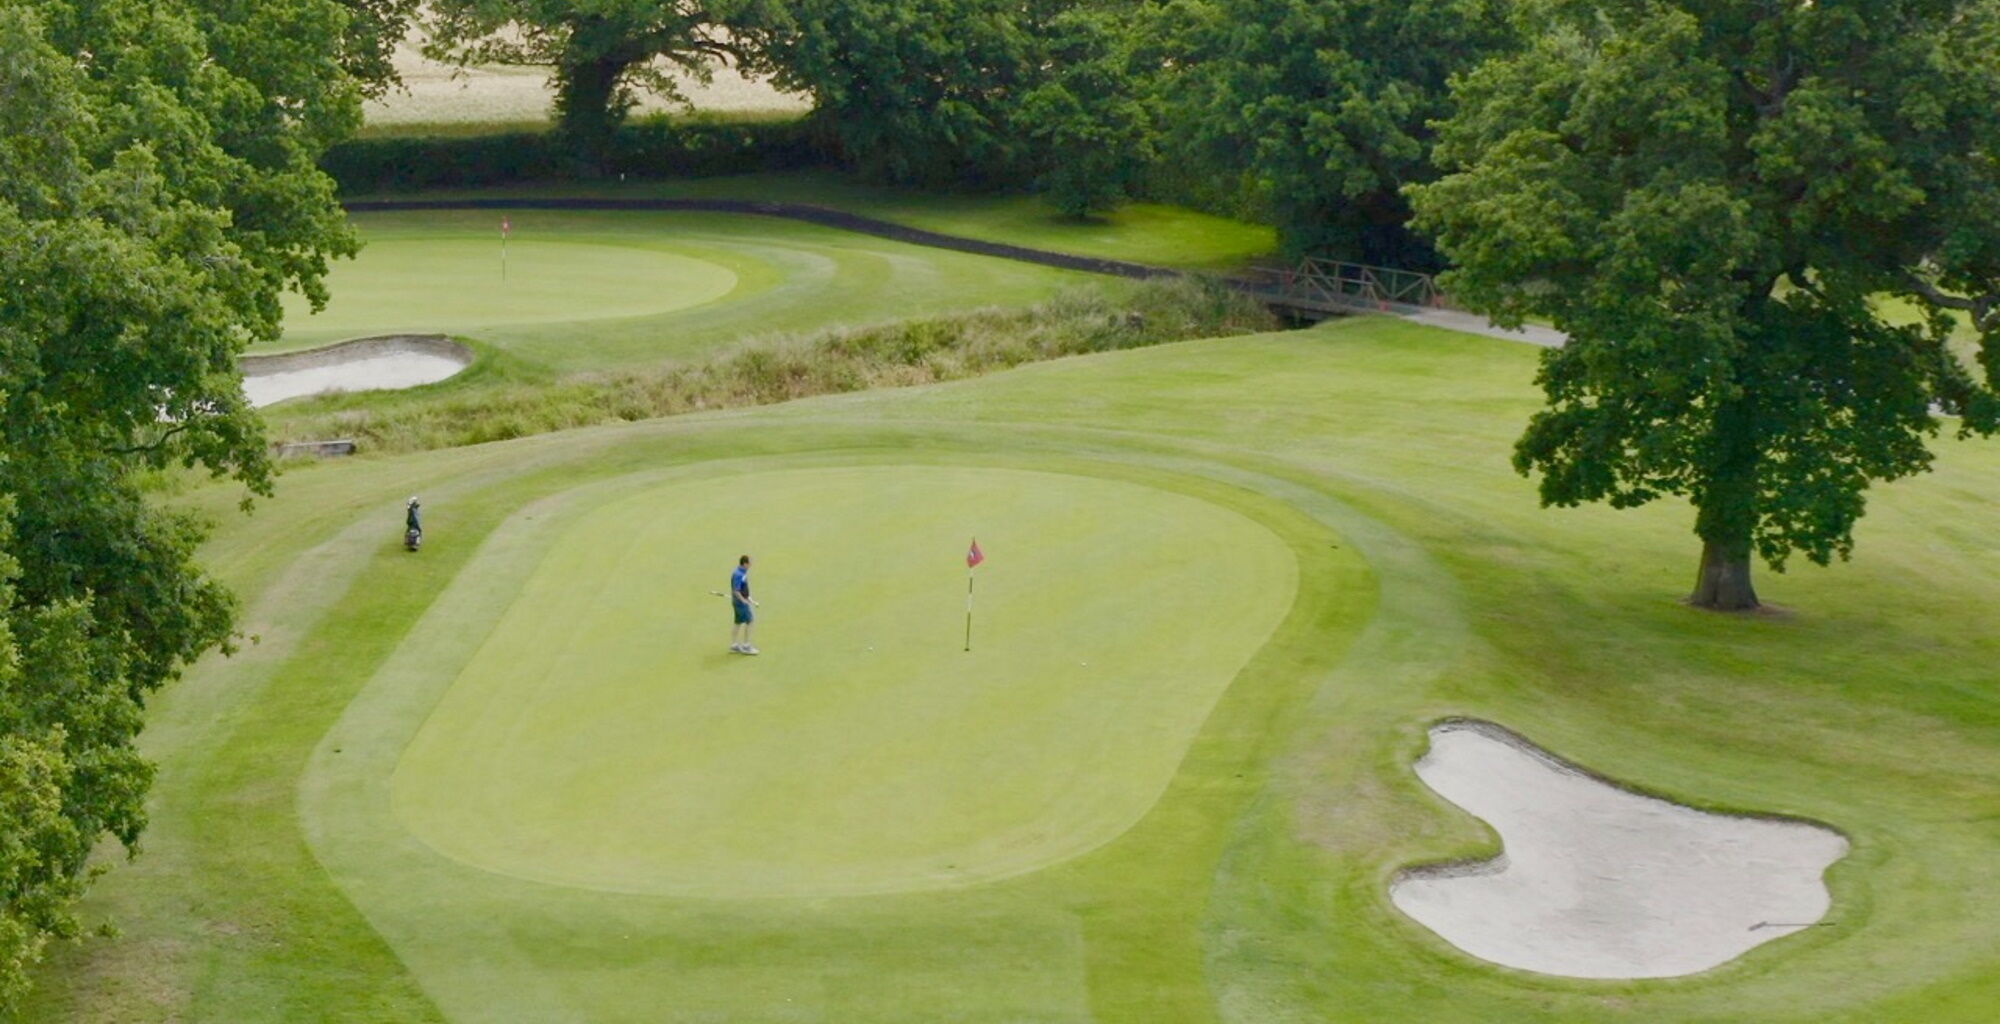
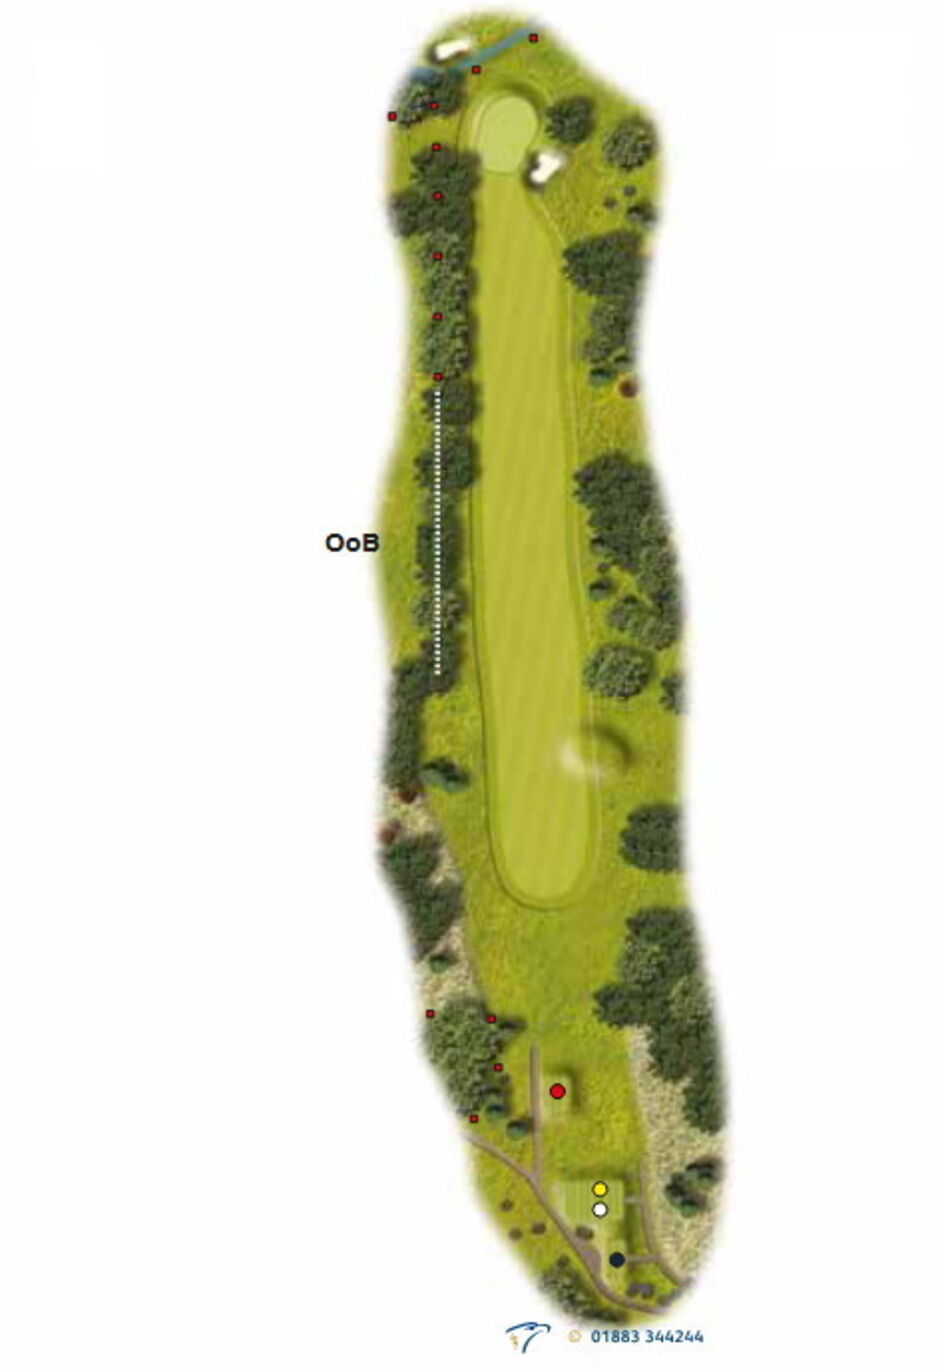
A long straight downhill par 4 with OoB and then a ditch running most of the length of the left-hand side with trees populating the right-hand side beyond the large Oak tree. The green slopes from front to back with a bunker front right.
446 YDS PAR 4 S.I 9
441 YDS PAR 4 S.I 9
421 YDS PAR 4 S.I 9
374 YDS PAR 4 S.I 7
TIPS
A straight drive at this opening hole sets the golfer up for a regulation start. Be off line either way and you are staring at a bogey start. Avoid left as OoB and then a ditch guard that side of the fairway whilst entering the projection of trees down the right usually requires a chip out. If you can’t reach the green in two then the sensible shot is to lay up short and slightly left of centre.
WEATHEROAK HALL, BROCKHILL LANE, ALVECHURCH, BIRMINGHAM, B48 7ED
Telephone: 01564 826789 | Pro Shop: 01564 822635 | Email: info@kingsnortongolfclub.co.uk
Telephone: 01564 826789 | Pro Shop: 01564 822635 | Email: info@kingsnortongolfclub.co.uk

Copyright © 2022 Kings Norton Golf Club. All rights reserved. Privacy Policy
Created by intelligentgolf version 10.1.2.
© 2024 Kings Norton Golf Club. All Rights Reserved. Privacy policy